
Paint finish affects how a wall looks, how easy it is to clean and how well it handles humidity. Kitchens and bathrooms face steam, grease and frequent scrubbing, so the choice matters more in those rooms than in a bedroom. This guide explains the common finish categories and how to pick one for each space. The advice is general, and product labels should always be checked before you buy.
Finish is only one part of a successful paint job. Surface preparation, primer choice and the number of coats also shape the final result. Thinking through all of these steps early helps you avoid rework and wasted material. A well-planned project usually looks better and lasts longer than a rushed one.
Understanding the Sheen Scale
Sheen describes how much light a paint film reflects. Flat and matte finishes hide small wall flaws well, but they resist cleaning less effectively. Eggshell and satin finishes offer a soft glow and a bit more durability. Semi-gloss and gloss finishes reflect the most light and tend to clean easiest.
Readers may also want to visit Labho.net. Read the product description before buying, because labels for the same sheen can vary between brands. Test a sample patch on the wall and check it at different times of day. Natural light and lamp light can make the same color look very different. A patch that looks perfect at noon can look dull by evening.
Picking a Finish for the Kitchen
Kitchen walls collect grease splatter near the cooktop and fingerprints near light switches. A satin or semi-gloss finish usually makes cleaning simpler, especially on walls behind the stove. Use a flatter finish on ceilings and high walls, where splatter is less likely to reach. Matching the finish to the wall position often gives the best balance of looks and durability.
You can also visit 55 Money for more reading. Pair the paint with a proper primer when you cover new drywall, since uneven porous surfaces can make color look patchy. Consistent coverage helps the color look even across the room. Plan a second coat for areas that absorb paint quickly. Corners, patched spots and bare drywall often need an extra pass to match the rest of the wall.
Choosing a Finish for the Bathroom
Bathrooms create steam, so moisture resistance is the main concern. Semi-gloss and satin finishes handle humidity better than flat paints and are easier to wipe down after showers. Look for paint labeled for bathrooms or high-moisture areas, since those formulas are designed for steamy conditions. Read the label carefully before assuming any product will do. Ask the store staff which products are rated for steam and frequent cleaning.
Make sure the room has an exhaust fan that runs long enough to clear steam after each shower. For a related read on this site, see Fraud Warning Signs in Online Orders for a. Paint lasts longer when moisture leaves the room quickly. Wipe any condensation from the walls during regular cleaning to protect the surface.
Preparing Surfaces Before Painting
Clean walls with a mild detergent solution and let them dry completely before painting. Fill cracks, sand rough patches and prime bare spots so the topcoat adheres evenly. Skipping preparation is the most common reason a finish looks patchy once it dries. Give the preparation the same attention you give to choosing the color. Scrubbing a wall before the first coat is one of the least exciting but most useful steps.
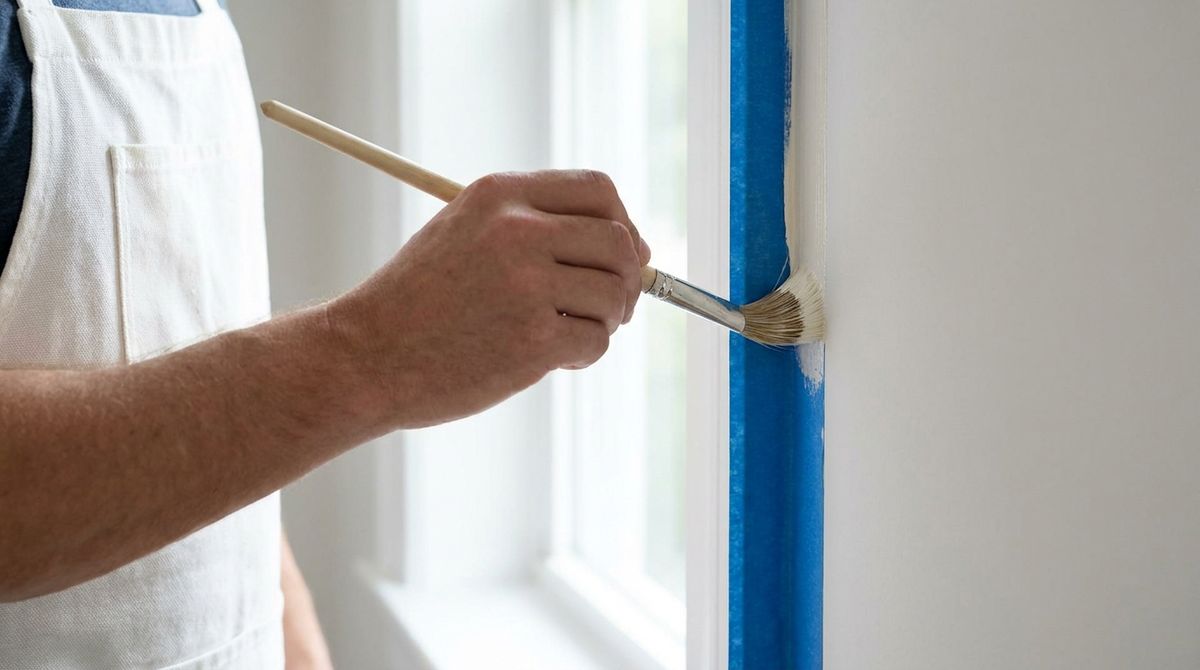
Tape edges and cover fixtures carefully before you start rolling. Work in sections and keep a wet edge to avoid lap marks where paint dries too quickly. Clean brushes and rollers promptly so the tools are ready for the next session. Store leftover paint with the lid sealed and the label facing out. Good preparation makes the finished wall look intentional rather than hurried.
Selecting Colors That Hold Up Under Light
Light in a small kitchen or a windowless bathroom changes color dramatically. Test colors at several times of day, both under lamps and in natural light. Warmer tones can soften cool-looking tile, while cooler tones can freshen a warm wood cabinet. Pay attention to how the color meets the countertop and flooring.
Compare the paint swatch with the existing tile, countertop and fixtures in the room. Paint rarely matches those surfaces exactly, so look for a shade that complements them rather than competing with them. A small test area is worth the extra effort because it prevents an expensive surprise. Painting a sample board also lets you move it around the room. Take photographs of the test patches to compare later. Label each patch with the time and light source so the comparison makes sense afterward.
Finishing With Confidence
Choosing the right finish comes down to understanding how each room is used. Kitchens need a surface that handles grease, while bathrooms need one that resists steam. Careful preparation and honest testing of color complete the picture. With those steps in place, the new walls should look fresh and stay practical for years.